Depth of field (DoF) is one of the most crucial aspects of photography, affecting how much of your image appears in sharp focus.
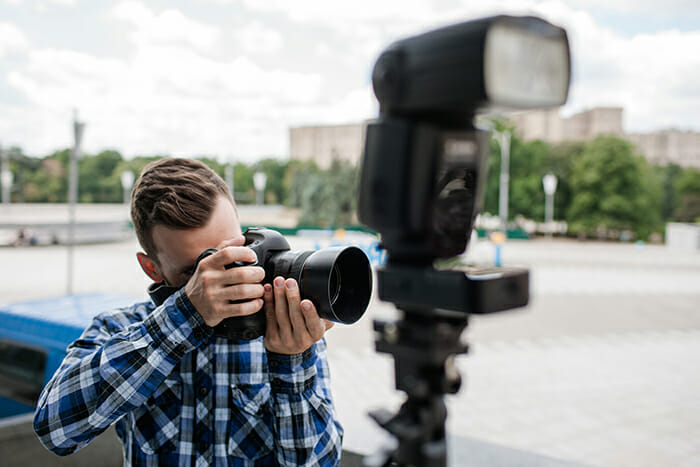
However, what you see through your camera’s viewfinder isn’t always an accurate representation of the final image. This is where the depth of field preview button comes in—it allows you to check how much of your scene will be in focus before taking the shot.
Many photographers overlook this feature, often relying on trial and error instead.
But by mastering DoF preview, you can fine-tune focus, avoid guesswork, and achieve the exact look you want, whether it’s a pin-sharp landscape or a creamy blurry background live view effect in portraits.
Download our Latest FREE Photography Book
What the Depth of Field Preview Button Does
By default, DSLR and mirrorless cameras keep the aperture wide open when composing through the optical viewfinder. This ensures a bright, clear image but doesn’t reflect the actual depth of field at your chosen aperture.
When you press the DoF preview button, the camera stops down the lens to your selected aperture, showing the real focus depth in the viewfinder.
This can be particularly useful in situations where precision matters, such as macro photography, where even slight shifts in focus can alter the final result.
While it can make the viewfinder darker (especially at small apertures like F/16 or F/22), it provides a critical advantage in assessing focus distribution.

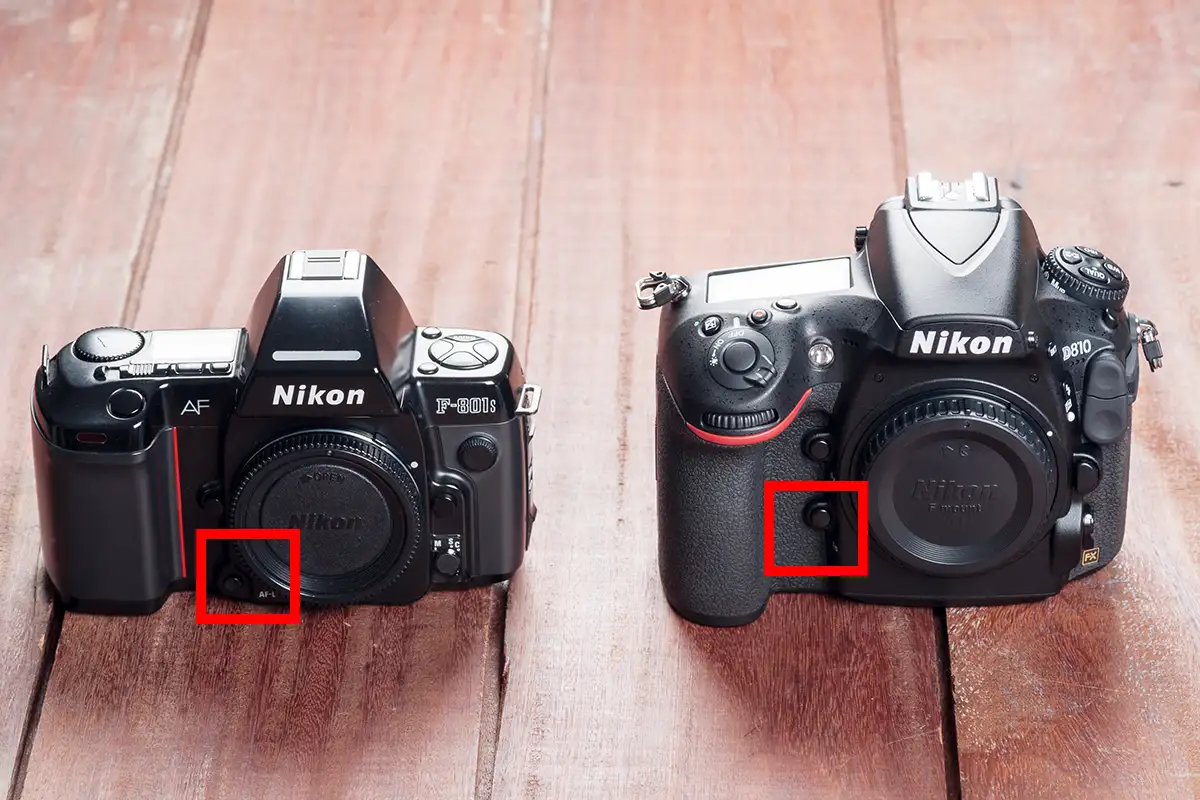
How to Use the Depth of Field Preview Button
Most DSLRs and mirrorless cameras have a dedicated depth of field preview button located near the lens mount. Here’s how to use it effectively:
- Compose Your Shot – Frame your image as you normally would, ensuring your focus point is where you want it.
- Select Your Desired Aperture – Set an appropriate f-stop based on how much of the scene you want in focus.
- Press the DoF Preview Button – This will stop down the lens to your chosen aperture, giving a preview of the actual depth of field.
- Assess Focus and Adjust if Needed – Look at how much of the scene is in focus and make adjustments to aperture or focus if necessary.
- Take the Shot – Once satisfied with the preview, capture your image.
If using an optical viewfinder, the image may darken at smaller apertures, making it harder to see details. In that case, switching to DoF live view on a mirrorless camera or DSLR with live view mode can help by brightening the display.
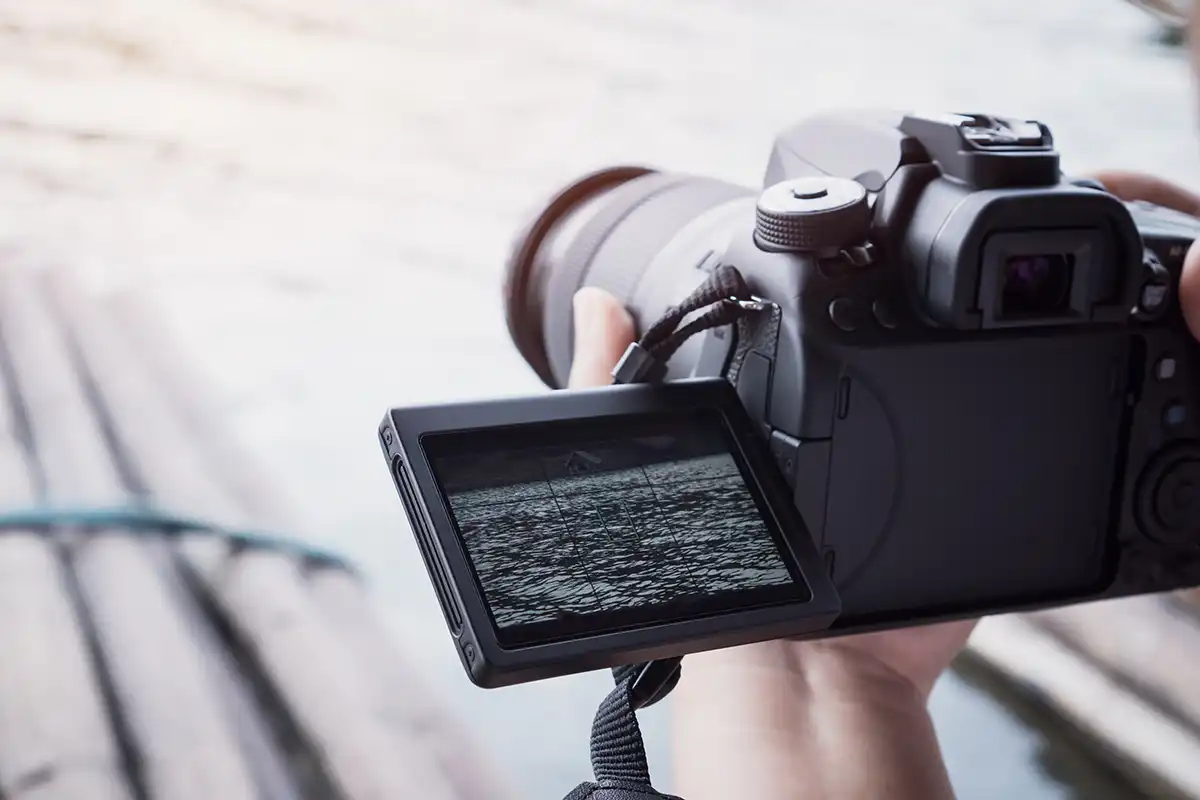
Using Depth of Field Preview in Live View
For photographers who prefer to shoot using the LCD screen, DoF live view provides a real-time depth of field simulation. Unlike an optical viewfinder, live view can adjust brightness and exposure compensation, making it easier to assess focus even at smaller apertures.
Activating blurry background live view is especially useful for portrait photographers aiming for a shallow depth of field. It allows you to fine-tune subject isolation before pressing the shutter. To use it effectively:
- Switch to live view mode.
- Adjust your aperture and focus point while monitoring the screen.
- Use the DoF preview function (if available on your camera) to confirm focus.
Some cameras also allow focus peaking in live view, which highlights the in-focus areas, making it even easier to determine the effect of depth of field in real time.
Why Depth of Field Preview is Useful
Many photographers rely on experience to estimate depth of field, but the DoF preview button provides a more precise way to judge focus. Here’s why it’s worth using:
- Avoids Surprises in Final Images – What you see in the viewfinder isn’t always what you get. Using depth of field preview prevents unexpected results.
- Improves Composition Control – Knowing exactly how much of your subject is sharp allows for better framing and storytelling in your images.
- Essential for Macro and Close-Up Work – Small focus shifts can make or break a macro shot. The DoF preview button ensures critical sharpness.
- Enhances Landscape Photography – When shooting at small apertures, confirming foreground-to-background sharpness is key.

Overcoming Depth of Field Preview Limitations
While the depth of field preview button is a valuable tool, it has some limitations. The most common issue is the darkening effect in the optical viewfinder at smaller apertures. If this makes it difficult to judge sharpness, try these alternatives:
- Use Live View Mode – As mentioned earlier, DoF live view provides a clearer preview without significant brightness loss.
- Increase ISO Temporarily – Boosting ISO can help you see details better when previewing, but remember to set it back before taking the shot.
- Use a Tripod for Stability – If previewing in low light, a tripod ensures your composition remains unchanged while adjusting settings.

Practical Applications of Depth of Field Preview
Knowing how to use DoF preview effectively can improve a variety of photographic styles. Here’s how it helps in different scenarios:
Portrait Photography
Shallow depth of field is essential for subject isolation in portraits. By pressing the preview button, you can check if your chosen aperture creates a blurry background live view effect while keeping the subject’s eyes in sharp focus. If too much of the background is distracting, a wider aperture (e.g., F/2.8 or F/1.8) will increase separation.
Landscape Photography
With landscapes, you typically want a deep depth of field, ensuring everything from the foreground to the background is sharp. The depth of field preview button allows you to verify whether stopping down to f/11 or f/16 achieves full scene clarity before capturing the shot.
Macro and Close-Up Photography
Macro photography has an extremely shallow depth of field, even at small apertures. Pressing DoF preview helps determine if the crucial parts of your subject are in focus. If needed, you can adjust the aperture or fine-tune focus using manual adjustments.
Conclusion
The depth of field preview button is an underused yet powerful tool for refining focus before pressing the shutter. Whether you’re shooting portraits, landscapes, or macro photography, it offers a practical way to visualise depth of field in real time.
For a deeper understanding of focus techniques and aperture control, explore our iPhotography Course. You’ll learn how to take complete control of your camera settings and improve your creative decision-making in every shot.
Next time you’re setting up a shot, take a moment to use DoF preview. It might just be the key to achieving the precise depth of field you envisioned.